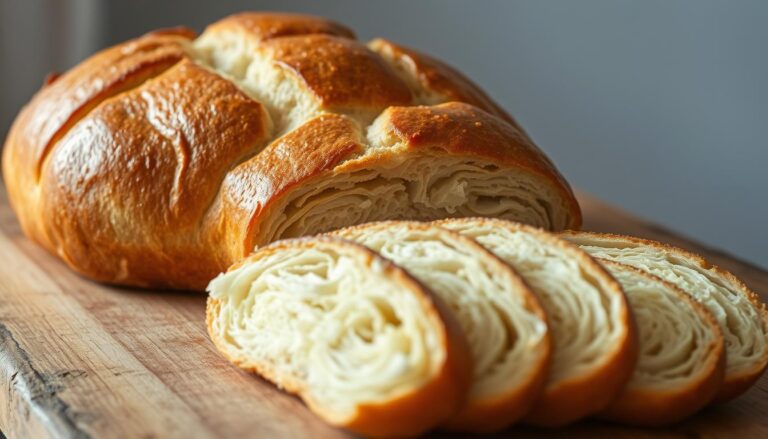
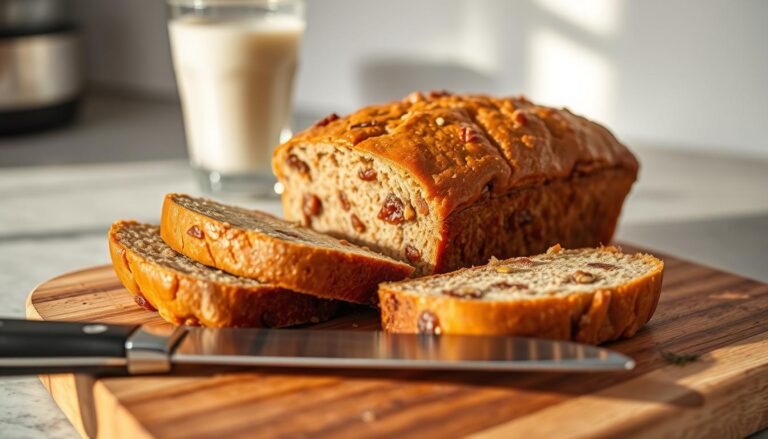
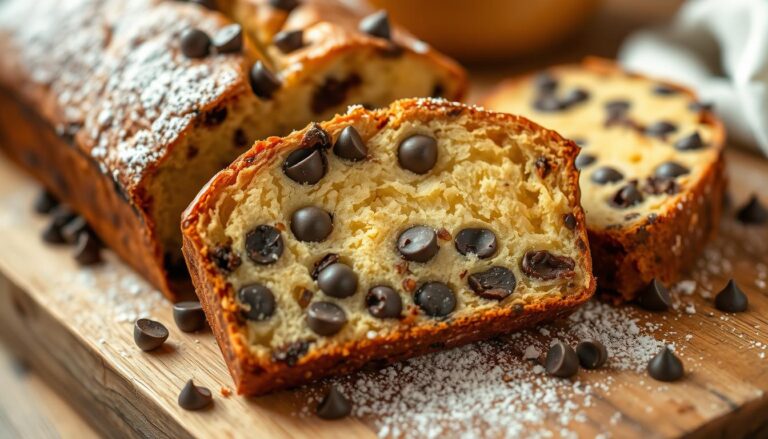
The Best Fluffy Pancakes recipe you will fall in love with. Full of tips and tricks to help you make the best pancakes.
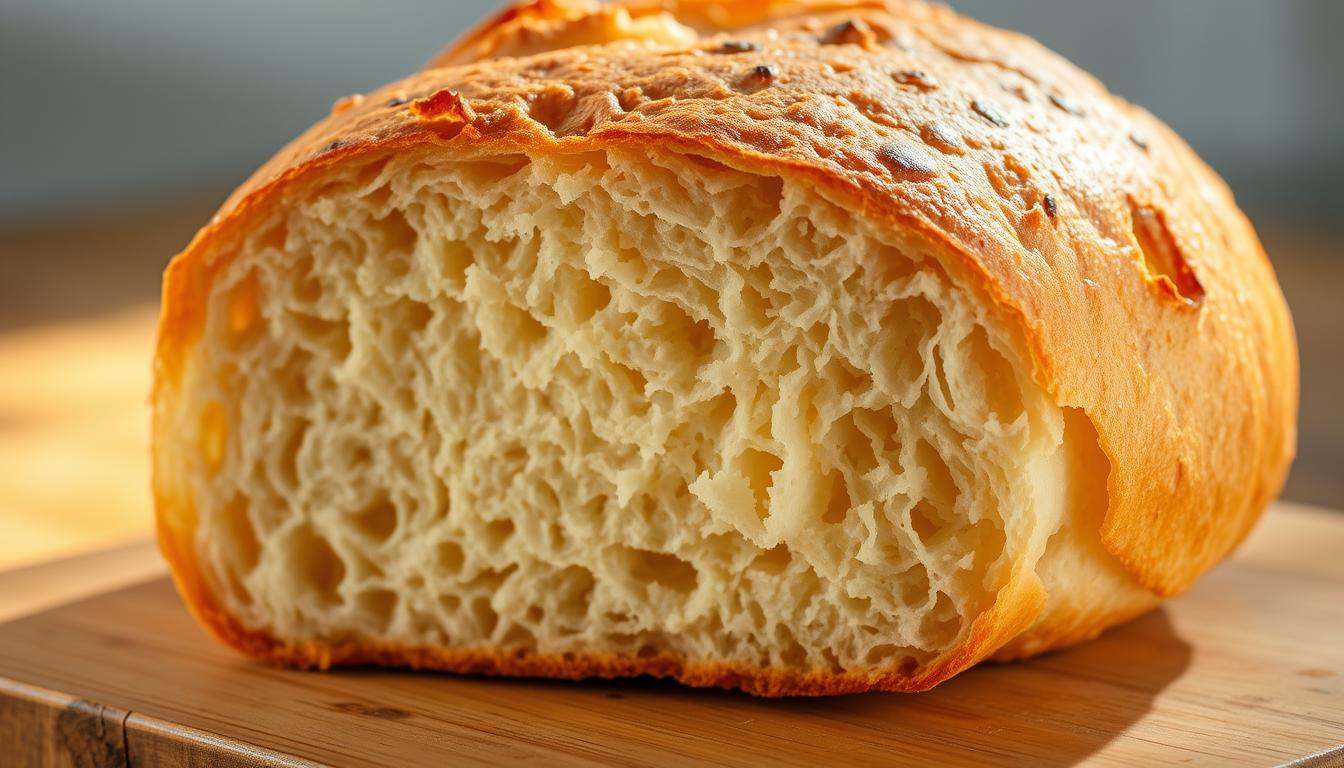
Peasant Bread Recipe: What Makes It So Light and Airy?
Discover the secret behind the light, airy texture of peasant bread. This timeless bread recipe has been cherished for generations, offering a no-knead simplicity that yields a golden, crisp exterior and a soft crumb. Its heritage is rooted in tradition, yet accessible to everyone.
The no-knead method is surprisingly simple. With readily available ingredients and minimal steps, even beginners can create a delicious, homemade loaf. Each bite transforms an ordinary meal into something special, making it a delightful conversation starter.
Mastering this dough is just the beginning. It serves as a foundation for exploring various bread creations. The consistent, reliable results have made Peasant Bread recipe a long-time favorite, and its versatility allows for easy adaptation to your preferences.
Table of Contents
The Origins and Appeal of Peasant Bread Recipe
Peasant bread holds a special place in culinary history, with roots tracing back to traditional European baking. This simple, hearty bread has been a staple for generations, cherished for its ease of preparation and rich flavor.
History and Tradition
The origins of peasant bread are deeply rooted in European tradition, where it was baked in communal ovens. Its simplicity made it accessible to everyone, regardless of social class. The bread was often made with basic ingredients: flour, water, salt, and yeast, reflecting the resourcefulness of earlier times.
Why You’ll Love Making It
What makes peasant bread so endearing? For one, the process is straightforward and rewarding. The dough requires minimal handling, allowing even beginners to achieve impressive results. The satisfaction of creating something from scratch is unmatched, and the aroma of freshly baked bread is sure to impress at any gathering.
| Aspect | Details |
|---|---|
| Historical Roots | Originated in Europe, baked in communal ovens |
| Ingredients | Flour, water, salt, yeast |
| Preparation | Simple, minimal handling required |
| Cultural Significance | Served at gatherings, symbol of community and tradition |
Essential Ingredients and Equipment
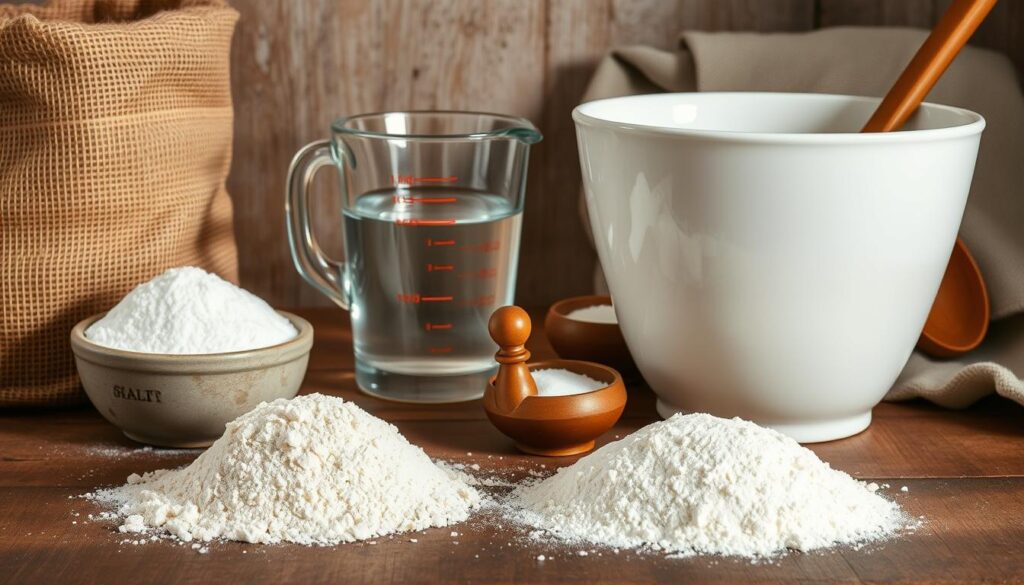
To craft the perfect peasant bread, you’ll need a few simple yet vital ingredients and tools. The quality and accuracy of these elements are crucial for achieving that light, airy texture and golden crust.
Key Ingredients You’ll Need
Your dough will come together with just five main ingredients. Start with 4 cups of unbleached all-purpose flour, which provides structure and texture. Add 2 teaspoons of kosher salt to enhance flavor and control yeast activity. For yeast, use 1 packet of SAF Instant Yeast (about 2 ¼ teaspoons) to ensure a robust rise. Include 2 teaspoons of sugar to feed the yeast and promote fermentation. Finally, mix in 2 cups of lukewarm water (around 110°F) to hydrate the dough—achieved by blending cold and boiling water.
Must-Have Baking Tools
Having the right tools ensures your baking process is smooth and successful. Invest in oven-safe bowls like Pyrex for even proofing and baking. A digital scale is essential for precise measurements, especially for flour. Use a large mixing bowl to combine your ingredients and a dough scraper or spatula for handling the sticky dough. Proper tools make all the difference in managing high-hydration dough and achieving consistent results.
Step-by-Step Guide to Making Your Peasant Bread
Creating a delicious peasant bread is easier than you think. With a few simple steps, you can craft a light and airy loaf right in your kitchen. Let’s walk through the process from mixing to shaping, ensuring you achieve the best results.
Mixing and Rising the Dough
Start by whisking together 4 cups of all-purpose flour, 2 teaspoons of kosher salt, 2 teaspoons of sugar, and 1 packet of instant yeast in a large bowl. Add 2 cups of lukewarm water (around 110°F) to create a shaggy dough. Mix until just combined—avoid overmixing to keep the dough light. Cover the bowl with plastic wrap or a damp towel and let it rise in a warm, draft-free place for about 1 to 1.5 hours, or until it doubles in size.
Deflating and Shaping the Dough
Gently deflate the dough using two forks to release any air bubbles. Divide the dough into two equal portions and shape each into a rustic round or oblong loaf. Place each loaf into a well-buttered, oven-safe bowl, cover them, and let them rise for another 45 minutes to an hour. Preheat your oven to 425°F (218°C) during the last 15 minutes of rising.
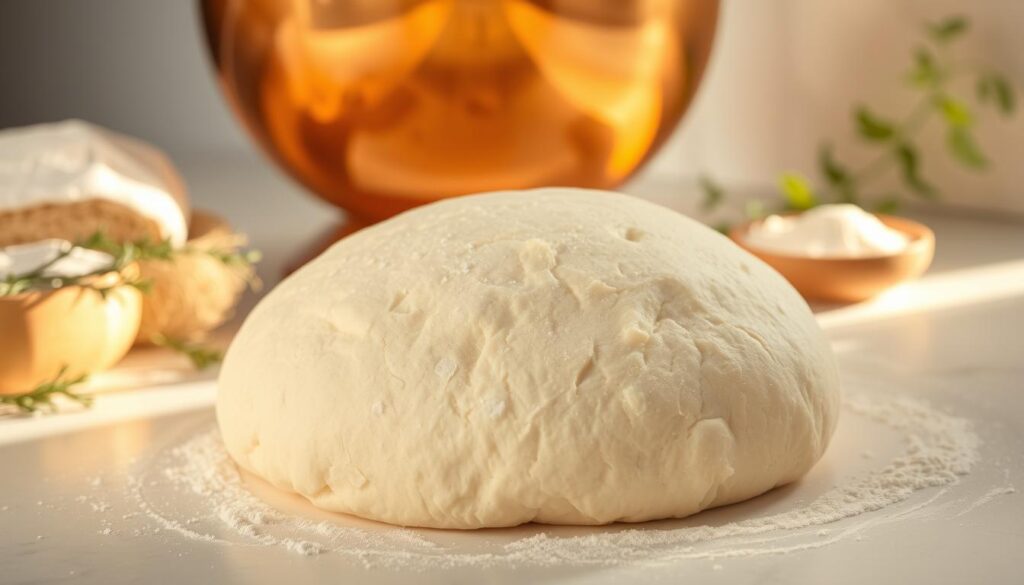
Once the oven is ready, bake the loaves for 15 minutes covered, then remove the cover and continue baking for an additional 17-20 minutes, or until golden brown. Let the bread cool for at least 15 minutes before slicing to preserve its texture.
Baking Techniques for a Perfect Crust and Crumb
Achieving a golden, crisp crust and a soft, tender crumb in your peasant bread recipe requires precise techniques. The key lies in mastering temperature, timing, and careful monitoring during the baking process.
| Technique | Details |
|---|---|
| Preheating the Oven | Preheat to 425°F (218°C) for even heat distribution. |
| Temperature Adjustment | Reduce to 375°F (190°C) after 15 minutes. |
| Bake Time Segments | 15 minutes covered, then 17-20 minutes uncovered. |
| Monitoring | Check for golden color and internal temperature of 210°F (99°C). |
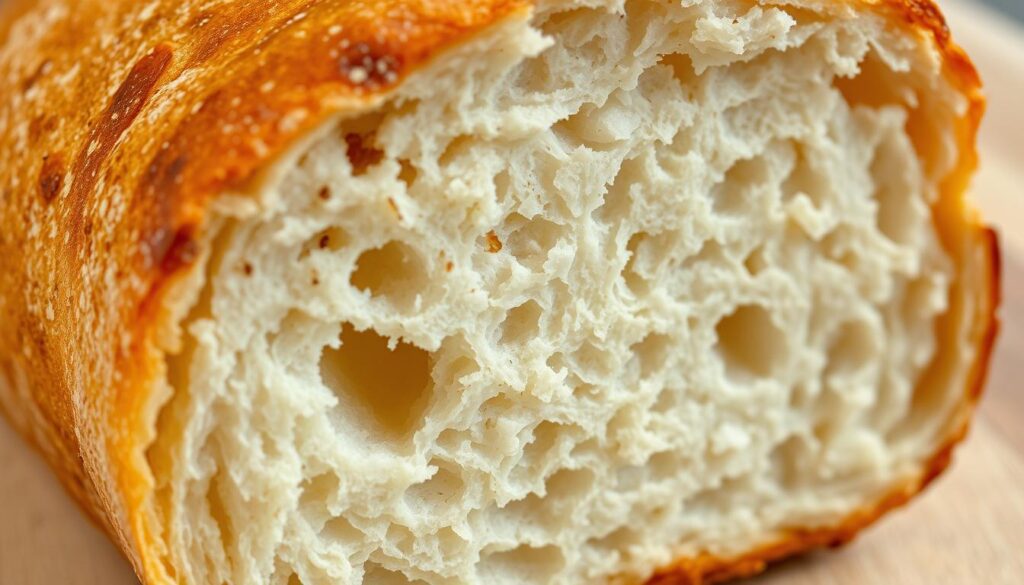
By following these steps and adjusting as needed, you’ll consistently bake loaves with the perfect balance of crunch and softness.
Creative Variations to Customize Your Bread
Ready to take your bread-making skills to the next level? The beauty of this dough lies in its adaptability, allowing you to craft unique loaves that suit your taste preferences and dietary needs. Whether you’re experimenting with different flours or adding flavorful ingredients, the possibilities are endless.
Gluten-Free and Whole Wheat Options
For a gluten-free version, swap traditional flour with a gluten-free mix. Adjust the water measurements slightly, as gluten-free flours absorb liquid differently. For whole wheat, try using 50% or 75% whole wheat flour for a nuttier flavor and extra fiber. Remember, even small changes in ingredients can create a distinct crumb and crust.
Enhancing with Seeds, Nuts, and Flavors
Add texture and flavor by incorporating seeds, nuts, or dried fruits into your dough. Try a seed-coated loaf or mix in some quinoa for added crunch. For a savory twist, sprinkle some everything bagel seasoning on top before baking. These creative touches maintain the bread’s light, airy core while offering exciting variations.
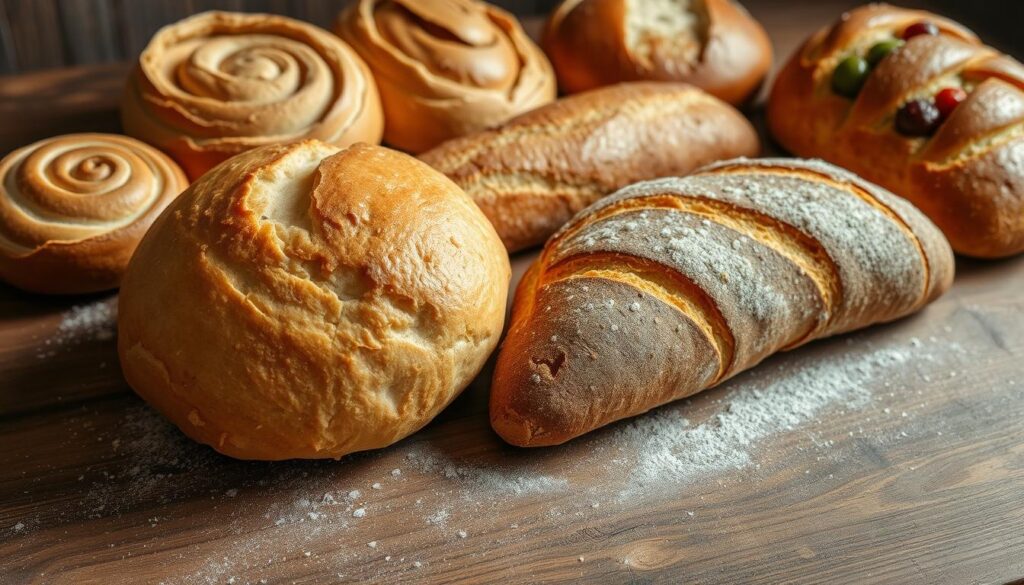
Experiment with different flavor profiles and textures—every modification brings a fresh twist while keeping the essence of the original dough intact. Happy baking!
Troubleshooting and Perfecting Your Dough
Working with highly hydrated dough can sometimes present challenges, but with the right techniques, you can achieve a perfect rise and texture. Let’s explore common issues and how to address them.
Overcoming Sticky Dough Challenges
Sticky dough is a common issue, especially with high-hydration recipes. To manage this, lightly grease your hands and tools with oil or water before handling the dough. This prevents sticking without adding extra flour, which could alter the dough’s balance.
Managing the Second Rise
The second rise is crucial for achieving airy bread. Ensure your dough is in a warm, draft-free environment. Monitor its progress closely—ideally, it should double in size within 45 minutes to an hour. Avoid over-rising, as this can lead to a dense crumb.
| Issue | Solution |
|---|---|
| Sticky Dough | Use oiled hands or tools |
| Uneven Rise | Check environment temperature |
| Dense Crumb | Monitor rise time |
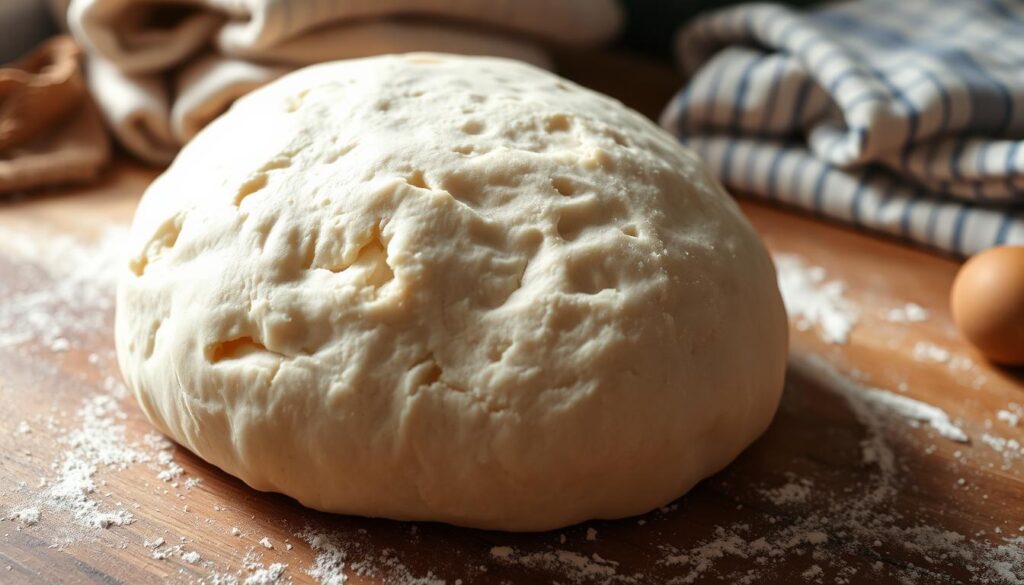
By adjusting water content and carefully monitoring the rise, you’ll master a consistent, light texture. Patience is key—each batch brings you closer to perfection!
Serving Ideas and Storage Solutions
Once your peasant bread is freshly baked, it’s time to enjoy it! Proper serving and storage ensure you get the most out of your homemade loaf. Whether you’re serving it warm or storing it for later, here’s how to keep it fresh and flavorful.
Freshly Baked Serving Suggestions
- Slice the warm bread and serve it with a drizzle of olive oil or a sprinkle of sea salt.
- Pair it with your favorite cheeses, cured meats, or a fresh green salad for a satisfying meal.
- Use it as the base for hearty sandwiches or toast it for a crispy snack.
For a special treat, try dipping the bread in balsamic vinegar or olive oil for added flavor. The key is to let the bread shine while complementing it with simple, high-quality ingredients.
Proper Storage for Longevity
To keep your bread fresh, store it in a cool, dry place. Here are some effective methods:
| Method | Details |
|---|---|
| Room Temperature | Store in a paper bag or wrap in a clean towel for up to 2 days. |
| Ziplock Bag | Seal the cooled bread in a ziplock bag to maintain moisture and freshness for several days. |
| Freezing | Freeze slices or the whole loaf in an airtight container for up to 3 months. Reheat in the oven or toaster for a fresh taste. |
When freezing, slice the bread before freezing for easy reheating. Let the bread cool completely on a rack before storing to prevent moisture buildup. Proper storage maintains the bread’s flavor and texture for a longer period.
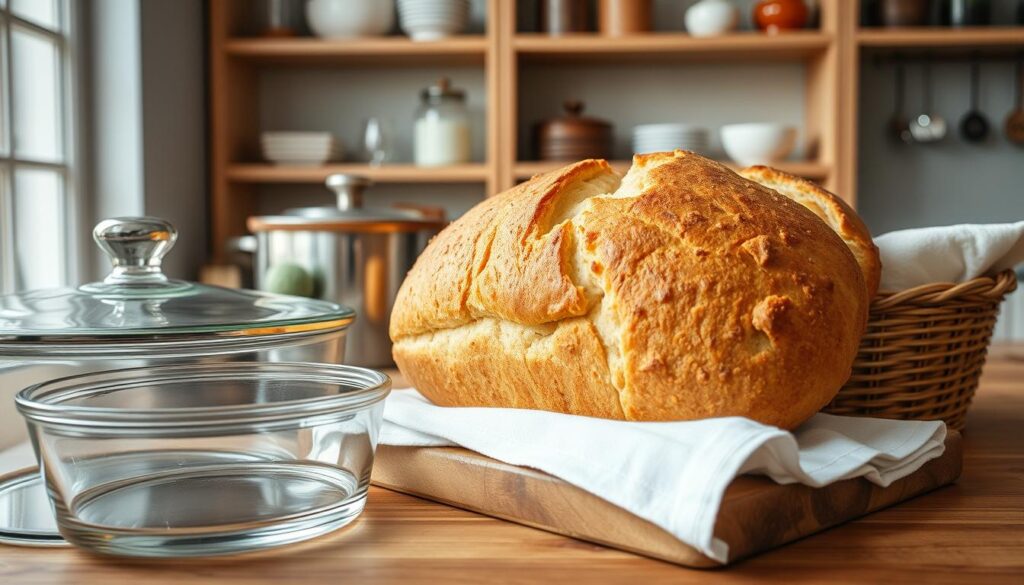
Experiment with different serving styles, like grilled cheese or toast, and enjoy the convenience of having homemade bread available for breakfasts and lunches. Happy baking!
How to Master Your peasant bread recipe
Take your bread-making skills to the next level with expert tips for consistent results. Achieving a perfect, light loaf every time requires attention to detail and a few insider techniques.
Expert Tips for Consistency
Start by investing in a digital scale for precise measurements. This ensures accuracy, especially when measuring flour and water. For the best results, use 4 cups of unbleached all-purpose flour and 2 cups of lukewarm water, created by mixing equal parts boiling and cold water.
- Use both instant yeast and active dry yeast for flexibility. Instant yeast is great for quick rises, while active dry yeast may require activation but offers better performance in varying conditions.
- Monitor your dough’s rise closely. Place it in a warm, draft-free area and let it double in size for about 1 to 1.5 hours. Avoid over-rising to maintain a light texture.
- Preheat your oven to 425°F (218°C) and bake for 15 minutes covered, then 17-20 minutes uncovered. This two-step process ensures a golden crust and soft interior.
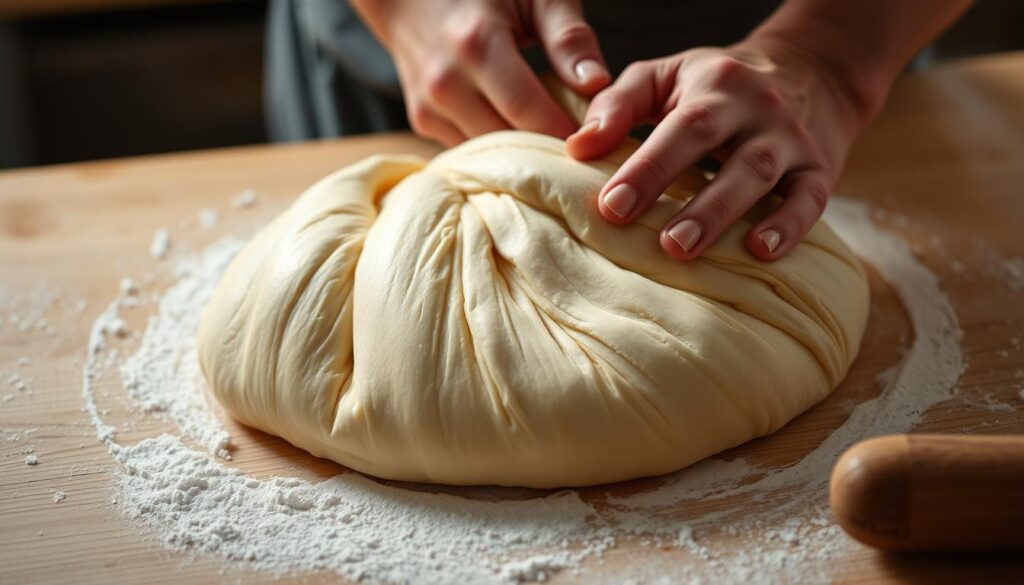
Adjustments based on your environment are key. Humidity and temperature can affect dough hydration, so tweak water content as needed. Use oven-safe bowls for even proofing and baking, as they help maintain consistent heat distribution.
Remember, practice makes perfect. Every batch is a chance to refine your technique and explore variations. Whether you’re adding seeds or trying different flours, the core methods remain the same. Happy baking!
Conclusion
With this simple guide, you’re ready to create delicious homemade Peasant Bread that’s light, airy, and full of flavor. From understanding the origins of this classic bread to mastering the baking process, you’ve gained the knowledge to craft a perfect loaf every time.
The journey begins with just a few essential ingredients and tools. By following the straightforward steps—from mixing to baking—you can achieve a golden crust and a soft interior. The tips and expert advice provided ensure your success, even if you’re new to bread-making.
Don’t be afraid to experiment! Try adding seeds, nuts, or herbs to create unique variations. Proper storage in a ziplock bag or freezer will keep your bread fresh for days. Reheating in the oven or toaster brings back that fresh-baked taste.
Thank you for joining us on this bread-making adventure. Remember, every minor adjustment leads to delicious outcomes. So, go ahead, get baking, and make every day a little more special with homemade bread!
FAQ
How do I handle sticky dough when making peasant bread?
Sticky dough is normal. Lightly oil your hands and work surface with a small amount of oil or water to make it easier to shape and manage the dough without adding extra flour.
Why does the dough need to rise twice?
The first rise develops the yeast and flavor, while the second rise after shaping ensures a light and airy texture. This double rise is key to achieving the bread’s characteristic crumb.
Can I bake peasant bread without a Dutch oven?
Yes, you can use any oven-safe pot or even bake it directly on a rack. Preheat your oven to 425°F (220°C) and bake for 35-40 minutes, or until golden brown.
What yeast is best for Peasant Bread recipe?
Instant yeast works perfectly because it activates quickly and ensures a faster rise. However, you can use active dry yeast by rehydrating it in warm water first.
How long should I let the dough rest after mixing?
Let the dough rest for about 1 hour, or until it doubles in size. This step is crucial for developing the gluten and yeast activity.
Can I add seeds or nuts to the dough?
Absolutely! Mix in your favorite seeds, nuts, or herbs before the first rise for added texture and flavor. Just be gentle when folding them in to avoid overworking the dough.
How do I store peasant bread to keep it fresh?
Store it in a cool, dry place or wrap it tightly in plastic wrap or a cloth. It will stay fresh for 2-3 days at room temperature or up to a week refrigerated.
Why is the preheat time so important?
Preheating ensures the oven is at the right temperature when you place the dough inside, promoting even baking and a crispy crust. Always preheat for at least 30 minutes before baking.
Can I make Peasant Bread gluten-free?
Yes, you can experiment with gluten-free flours. However, you may need to adjust the ratios and add xanthan gum for better structure and rise.
